The NAS product of the Synology brand is most used to manage the media files over drives from your computer and laptop. There are simple steps to assemble the Synology device and connect it to your home WiFi network and computer. Here, you will get to gather all that setup information below.
Assemble Synology NAS Device
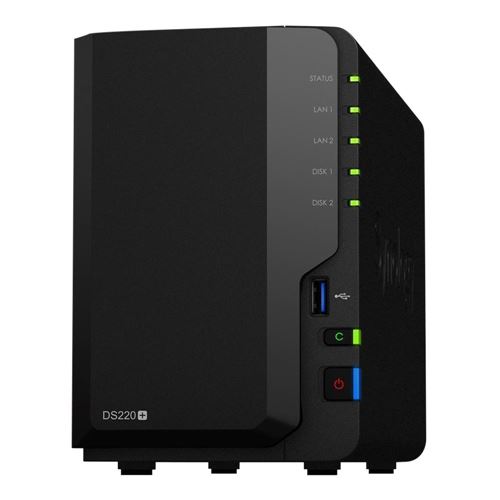
There are many parts that you have to insert in the Synology
NAS device. The parts are Drives, Extra memory.
1. Place
it near the router and open the device drive trays.
2. Now,
insert the memory chips, if you have and lock them.
3. The
maximum number of the drives you can insert in the NAS is four.
4. Just
insert the drives in the trays and connect them in to the NAS.
5. You
have to lock them up with the help of drive tray key.
After that, you have to connect the NAS to the WiFi router,
which you can do with the help of the Ethernet cable. Let’s see how to connect
it to home network.
Connect Synology NAS with WiFi Router
First, you have to check the Ethernet cable before using it
and then follow below written steps;
1. You
have to find the Ethernet port of the NAS device and connect the cable to it.
2. The
end will goes in to the WiFi router LAN port, after that just turn on all the
devices.
You will not able to use the services of the Synology NAS
yet, you have to connect it to the computer using Synology login interface.
Access Interface to Connect with Computer
To access the find Synology page for connection, you have to
connect your computer to the same router, which NAS device connects. Then,
follow simple steps given below;
1. Go
to the web browser and search the URL find.synology.com.
2. Computer
screen will display interface page on web browser.
3. Here,
you have to scroll down a little bit where you will see Connect button.
4. You
just have to click on that Connect button and your Synology NAS device will
connect to the computer.
Now, you can easily manage your media files without any
problem. If there is any problem related to Synology connection or internet
connection, then you can use these below written tips;
Troubleshooting Tips
Reboot
Rebooting process will refresh all the settings of the
Synology device. So to restart the NAS you can use two different methods given
below;
1. Find
the power button on the device and press it for two times.
2. Plug
out the device from the wall socket and plug it in again.
Reset
By resetting the device, you will lose all the data and
adjusted settings in your Synology NAS device. But reset process will dispel
the problem for sure. To reset;
1. Find
the RESET button on device.
2. It
will be a pinhole button.
3. Just
use a sharp object to long press the button.
It will start the reset process, and after it ends, you have
to access the find Synology interface via your computer and connect again.
If you want to add new accessories and software like DSM and
QuickConnect, then you can take help or download them from the Synology Download Center, which you can find
on the web.
End Conclusion
The Synology NAS device is pretty easy to assemble and
connect with computer and WiFi which you can see above. Here, you have learned
how to setup the Synology NAS device and how to troubleshoot any problem.


.jpg)